Device lifecycle management (DLM) is an approach to managing devices for an organization. It includes planning, acquisition, deployment, usage, maintenance, and disposal of the devices. This process helps ensure technology resources are used well throughout their lifespans—from when a school acquires them to when they go out of service.
The integration of DLM in K-12 asset management is crucial not only for optimizing device usage but also for fostering a secure, conducive, and cost-effective technological environment that supports educational excellence.
- It ensures students have access to technology resources when they need them.
- It helps secure devices to prevent malicious actors from compromising the data of students, staff, and parents.
- It improves the learning environment by helping students achieve their educational goals.
- It helps educational institutions manage costs by tracking inventory in the field and ensuring devices are well maintained.
K-12 asset management
K-12 asset management refers to the processes and systems in place to track, manage, and maintain physical assets in schools. This includes devices such as desktop computers, laptops, and tablets, as well as other educational resources like textbooks and laboratory equipment.
Effective asset management is important for educational institutions to ensure that resources are utilized efficiently, maintain accountability, and plan for future needs.
The key aspects of K-12 asset management may include:
- Inventory tracking
- Device lifecycle management
- Maintenance and repairs
- Asset utilization
- Asset security
- Budgeting and planning
- Compliance
- Technology integration
- Training and retention
For this guide, we’ll focus mostly on the device lifecycle management (DLM) portion of asset management while touching on the other aspects.
So, how do you institute a DLM solution into an existing school? To start, learn the different phases of device lifecycle management as well as the types of DLM models for different K-12 school needs. Then discover how additional software and tools can help integrate a new DLM solution into a school’s system seamlessly.
The phases of device lifecycle management in K-12 institutions
DLM for K-12 asset management is parsed out into seven phases. This helps ensure that each step of the process is thoroughly set up and implemented, so the plan can work holistically and successfully cover all parts of device management for schools.
1. Planning phase
The planning phase of DLM occurs when a K-12 institution is ready to invest in new technology.
- It starts by evaluating the needs of the institution and the way it currently operates—including the school curriculum, teaching methods, and student needs.
- The goal is to understand and assess how new technology could be more useful for supporting teachers and their methodologies as well as students and their learning needs.
Once an institution has determined its needs, the planning process moves toward finding the proper technology to meet the educational goals identified. There are some considerations to make when looking at technology options, including:
- Device functionality: What features do the technology devices have that help students learn (tablets, laptops, smartboards, TVs)?
- Device durability: Are the devices you plan to purchase known to last without many issues?
- System compatibility: Will the new tech tools work with existing IT infrastructure?
- Device cost: What will the additional new technology cost the school?
- IT asset inventory: This involves evaluating the current fleet of devices, including the type, number, and status of each. Are they actively in use, being repaired, damaged, or lent out? Knowing the lifecycle stage of each device is important, from new to mid-life or near end-of-life. It's essential to track software, such as operating systems and applications, for system compatibility.
Once you find suitable devices for your school, it’s time to create a procurement plan. This plan includes:
- Create a device budget within your current school budget as well as look for other funding sources like technology grants, government assistance, and local community partnerships to help supplement the purchases
- Determine the criteria and requirements for vendors and technology partners that will help meet your goals
A procurement plan will ensure your school gets the best value for the money and that the devices you receive meet your goals.
2. Acquisition phase
The acquisition phase begins with vendor research from your procurement plan. Using the research and short-list of the vendors that fit best your needs, select a technology partner that has:
- Technological functionality
- Product reliability
- Vendor reputation
- Product compatibility with current school infrastructure (network devices, software, regulatory requirements)
- Mobile device integrations and platforms
- Demos of their tools
The next step is to decide on purchasing options. K-12 schools with smaller budgets may not be able to afford large IT expenditures, so:
- Leasing equipment could be a better choice since it offers a predictable, lower monthly payment.
- Payment plans with certain vendors could be an option as well.
Schools with larger budgets can purchase the equipment outright; if it benefits the school. The pros of owning equipment are:
- The ability to sell devices
- Consistent upgrades and software integrations
- Security system integrations and monitoring
However, some cons come with purchasing equipment, such as:
- Expiration of warranties
- Inability to refresh tech and upgrade devices more frequently
- Big upfront cost
Once you’ve found your vendor and set up your purchase plan to get your new devices, take a look at your inventory management plan to get adequate records for all your equipment. Determine how much equipment you need during this acquisition process to supplement your goals. Inventory management records should also include warranty information, so IT teams can easily determine if they can swap out devices that aren’t working.
3. Deployment phase
The deployment phase of K-12 device lifecycle management solutions will help you effectively use your new technology in the classroom. This process includes a few steps.
- Device configuration: Set your devices up with the necessary software, including operating systems, learning applications, and security software. Configure the devices for internet capabilities that connect to the school network.
- Device management: Set each device up in your mobile device management (MDM) system. Include new devices in your policy management solution to prevent unauthorized use and easy device administration.
- User training: Training staff and students to use devices will ensure users are equipped to operate them. Include instructions on basic device functions, how to use them for educational purposes, and how to spot and report any suspicious activity. Create materials that can build out your usage policies for the next phase.
- Device distribution: Given the scale of device distribution in a K-12 setting, this process needs to be well-organized to ensure efficiency and reduce the potential for errors or misplaced assets. This step involves planning and scheduling, record keeping, policy communication, initial setup assistance, and post-distribution support
4. Usage phase
The usage phase of K-12 asset management starts after device acquisition and deployment is complete. Users will start handling their devices at this time, which means it’s important to create usage policies that govern how people interact with them.
A usage policy offers several advantages, including:
- Information on how to keep devices safe from external threats.
- Maintenance plans so devices stay in good condition for future use.
- Recommendations on how to get devices to perform their intended functions to enhance the educational experience.
To create an effective usage policy, outline your school’s guidelines and policies about:
- Device usage
- Internet access
- Content filtering
- Responsible digital citizenship
Make sure the language you use to describe these guidelines is clear and not too technical. For example, explain that some websites are blocked due to web filtering, which restricts access to malicious websites and prevents software installation that could hurt the performance of a device. This helps explain the security measures that users may encounter during their usage.
The usage phase also ensures that there is a plan for monitoring devices. With modern tools, schools can track student activity and ensure compliance with usage guidelines. Common strategies for monitoring school devices are:
- Use location monitoring software to track the location of devices.
- Push notifications and anti-malware updates from device management software that keep devices updated and safe.
- Monitor apps and websites used by staff and students using logging tools.
This proactive approach helps IT administrators keep a watchful eye on the school network and the devices connected to it so they can get ahead of problems before they become more severe.
You’ll also need to provide support to students and staff during the usage phase. If you’re using new tools, teaching users how to properly use the devices is vital.
- Explain best practices for use and actions to avoid when using school property.
- Make IT support available to help with issues during this process and in the future when devices don’t work properly.
The final part of this phase is evaluation and feedback. Stay in touch with teachers and students to learn about their experiences. Look for the problems they regularly have, such as:
- Devices not working and disrupting class.
- Technology that doesn’t help the education process and slows down learning.
- Distracting technology that disrupts classroom teaching.
5. Maintenance phase
The maintenance phase of a DLM plan will help you keep your equipment in optimal condition. You’ll get better performance and a longer lifespan—a win-win.
During this process, create a schedule for inspecting your equipment that includes common maintenance tasks like:
- Regular cleaning: Keeping your equipment clean and dust-free will help it work better and longer. Dusty equipment can block airflow to the fan exhaust and make it harder to cool devices.
- Updating software: Regularly update software to get the latest features, performance optimizations, and security patches. Unpatched software becomes a security risk over time and can lead to vulnerabilities and data breaches.
- Checking for faulty equipment: Inspect hardware to make sure everything works as it should. If not, get replacement parts to fix the problem, or prepare to send them to the manufacturer for a replacement under a warranty. Ensure loaner equipment is available to minimize downtime and any disruption to teaching and learning.
- Performing backups: Accidents can happen in a school environment—even if you take the proper precautions. A robust backup solution will protect your data and help you recover everything quickly. Build a backup solution to protect files and regularly audit it to ensure integrity.
- File removal: Regularly audit devices to look for sensitive information no longer needed (such as old records). Conduct a periodic device wipe and dispose of unneeded information to prevent an incident.
6. Device recollection
This phase involves the retrieval of mobile devices from students at the end of the school year or when they're no longer required. The goal is to ensure that every device is returned safely and ready for refurbishment, reassignment, or retirement. These are the steps that educational institutions should take into account:
- Clear Communication: Inform students and parents well in advance about the recollection process, including the when, where, and how. This can help mitigate confusion and improve the chances of all devices being returned on time.
- Organized Process: Establish a structured process for recollection, which could involve a check-in desk or station where devices are collected, verified, and checked off against the school's device inventory. This step can be facilitated using device management software, like Prey, to track and manage returned devices.
- Device Inspection: Each returned device should be thoroughly inspected for any damage. Make notes of any issues for potential repairs and maintenance over the break. Also, ensure that any proprietary information or user data is appropriately removed.
- Secure Storage: Once collected, devices must be stored securely. They should be arranged in a manner that minimizes potential damage and allows for easy access when needed for maintenance or reassignment.
- Device Updates and Maintenance: Post-recollection provides a great opportunity to carry out any necessary maintenance, software updates, or device replacements, ensuring they are ready for redistribution when required.
7. Disposal phase
The disposal phase is the final part of a device lifecycle management solution. When a device reaches the end of its life and is no longer useful, when it needs to be updated, or when it becomes damaged beyond repair, it’s important to have a disposal plan in place so the equipment doesn’t get into outside hands.
A proper disposal process helps:
- Ensure that devices are disposed of in an environmentally friendly way.
- Securely erase any sensitive data before disposing of devices—using secure delete tools, physical destruction, and encryption before deletion—to prevent unauthorized access and ensure compliance with data protection regulations.
- Schools comply with regulations for data privacy.
You have two primary options when disposing of equipment: donate it to another party or recycle it with an e-waste facility. If your device isn’t functional, you’ll need to erase and destroy the device. Otherwise, you can erase it and then donate or sell the equipment to another party that can use it.
Schools can evaluate the options for device recycling or donation. Beyond the environmental benefits, these actions can foster community engagement, promote social responsibility, and contribute to sustainability.
To determine when it’s time to dispose of a device, it’s important to create a device retirement plan. This involves:
- Developing a comprehensive strategy that outlines the criteria for determining when a device has reached its end-of-life.
- Setting up device refresh cycles for removing outdated equipment and replacing them with newer options.
- Budgeting for asset replacements.
Classroom device management that plans for the end of a device’s life ensures a smooth transition for the user and minimizes disruption in the learning environment.
Get help with your device lifecycle management plan
A robust device lifecycle management process helps K-12 schools find the best devices to suit the needs of students, staff, and administrators. Depending on the types of devices used, your DLM can focus on mobile devices, networks, classroom devices, or security and data. Any of these plans focus on finding the best vendors on the market, obtaining cost-effective devices or tools, integrating them into the educational or classroom plan, managing current inventory, and disposing of the devices or data in an eco-friendly, secure way.
Institutions will need to verify that devices meet DLM requirements by
- Determining whether they aid the educational process
- Setting them up to comply with security requirements
- Ensuring they come with support from vendors
- Fitting the purchases into the school’s budget
A proper K-12 asset management plan includes a DLM solution that asks institutions to keep up with the newest technology and consistently evaluate if new devices are more suitable for the classroom environment than those the school already has.
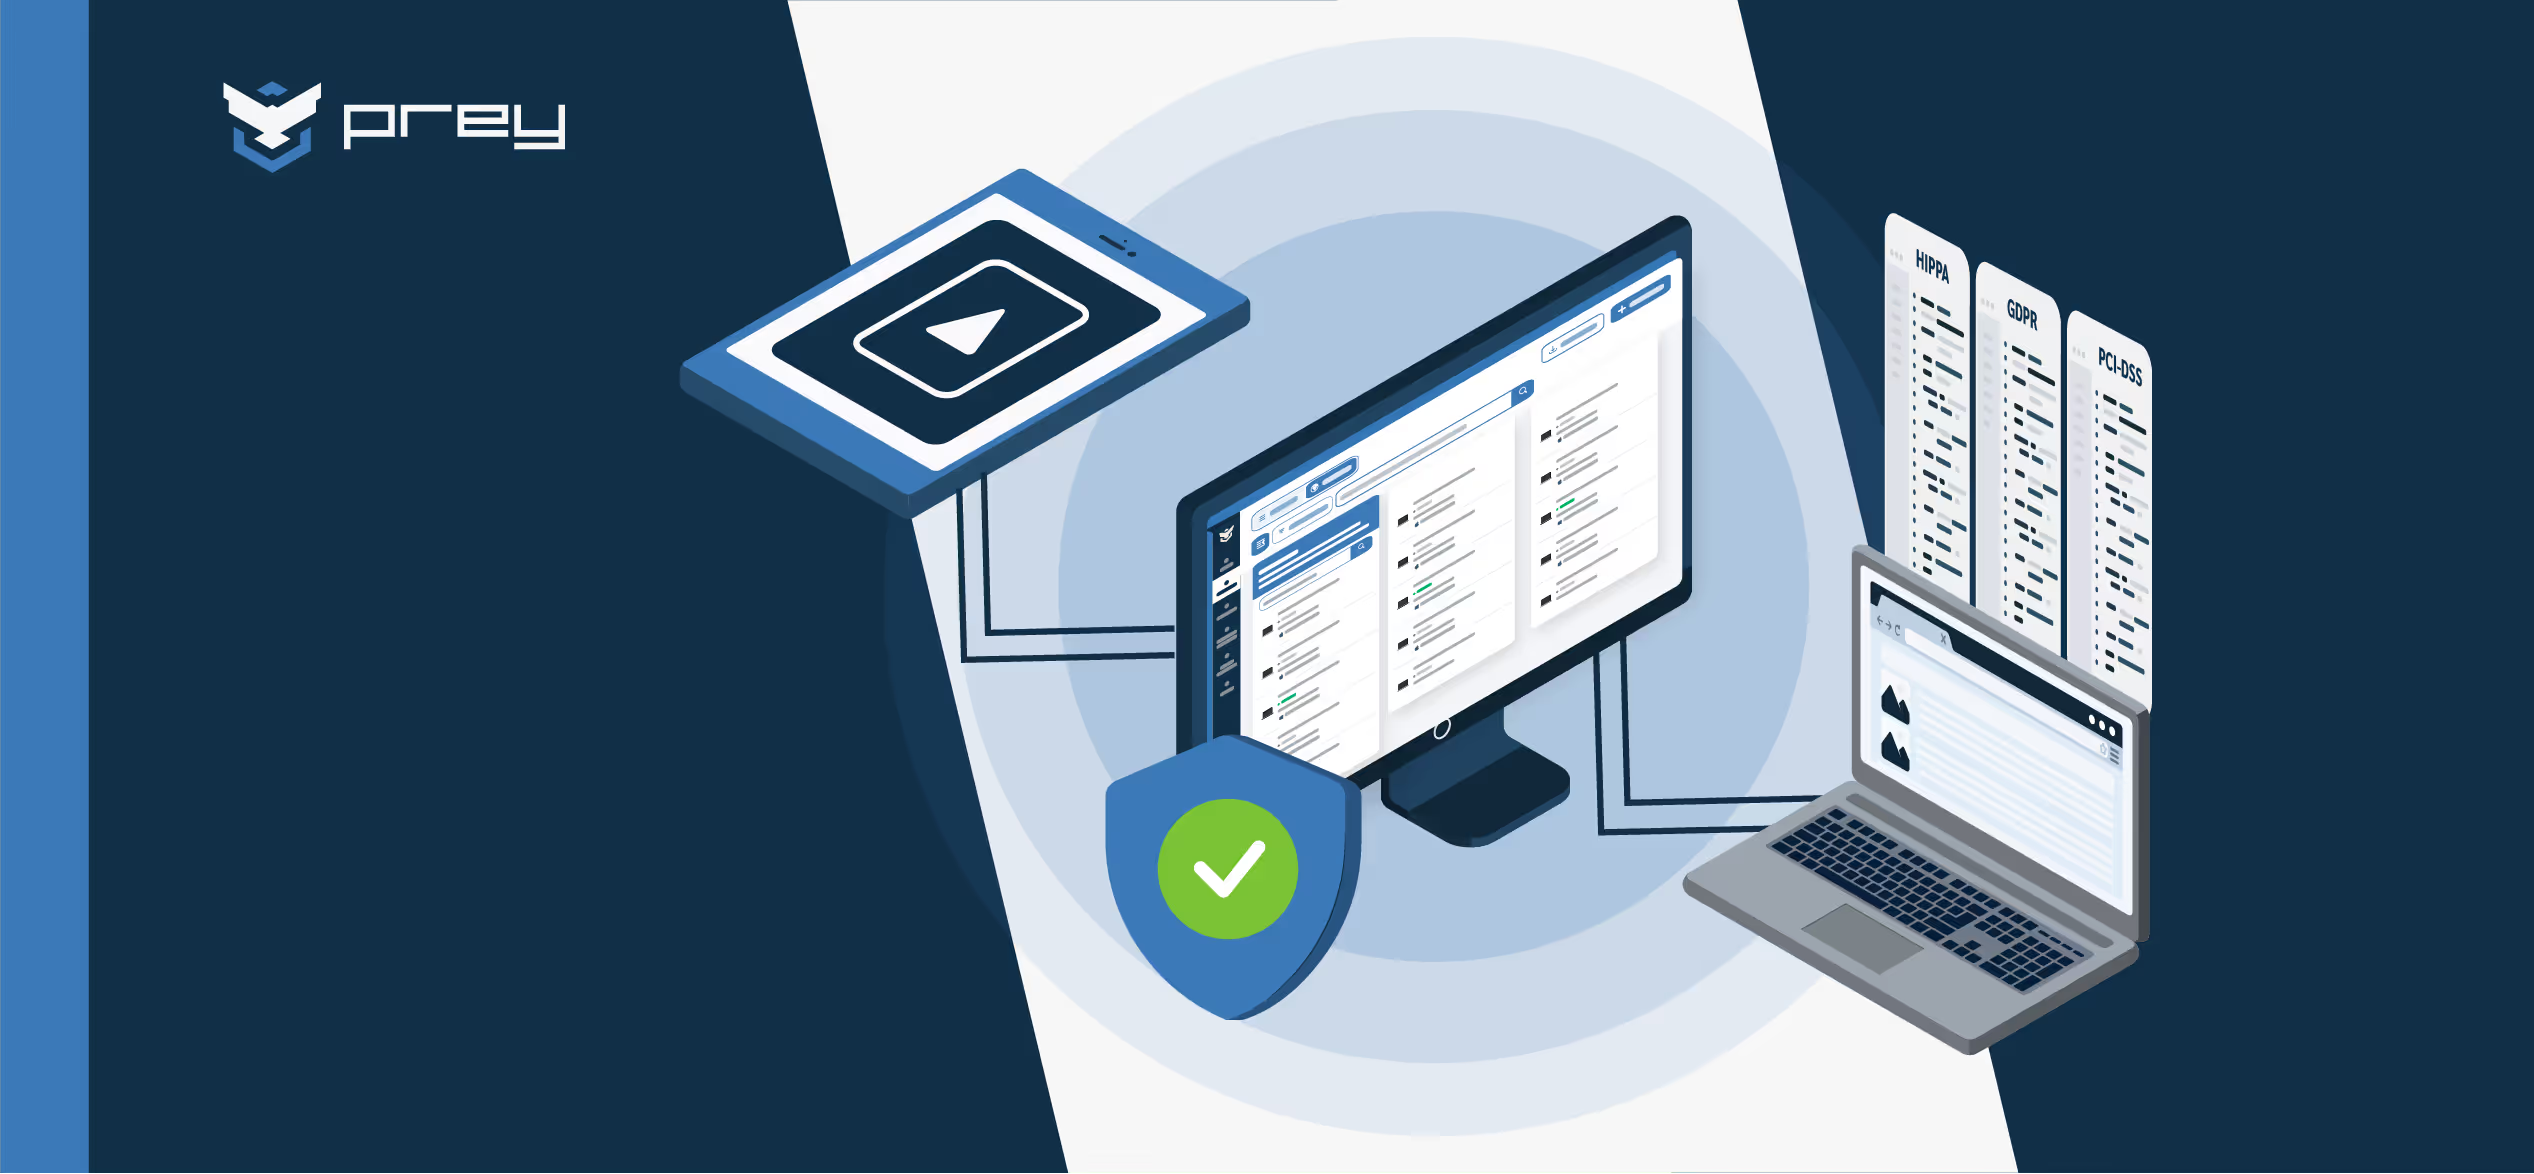
If you’re looking for a reliable partner to help your school build a secure technology infrastructure, Prey can help. We offer on-site and mobile device management solutions that help schools maintain control over their device inventory.
Track inventory, conduct remote wipes on compromised devices, monitor thousands of multi-OS devices with ease, and manage security from one easy dashboard. Book a personalized demo to see what Prey can do for your K-12 institution.
FAQ
What is K-12 asset management in schools?
K-12 asset management refers to the process of tracking, managing, and maintaining the school's physical assets, which could be anything from laptops and tablets to furniture and lab equipment.
What are examples of school assets?
Examples of school assets include computers, tablets, textbooks, furniture, laboratory equipment, classroom supplies, and other educational resources.
What are the phases of device lifecycle management in schools?
Seven: planning, acquisition, deployment, usage, maintenance, device recollection, and disposal. The recollection phase is what separates K-12 from corporate IT: devices come back every June, and they don't come back on their own.
How do schools plan for device replacements and hardware refresh cycles?
Start from your inventory, not your budget. Knowing how many devices are in year three versus year five tells you what you'll need to replace next cycle, which turns a surprise expense into a line item you can defend.
How can schools extend the lifespan of student laptops and tablets?
Scheduled maintenance beats reactive repair. Cleaning, patching, and inspecting on a calendar catches the failures that pull a device out of service and a student out of class.
What tools do K-12 IT teams need to manage the device lifecycle?
At minimum: an inventory that stays current on its own, location tracking for the devices that walk off, and remote wipe for the ones that don't come back.